•
Unexpiring Tailscale auth keys
3 minutes read •
Ideally when running Tailscale in kubernetes one should use ephemeral configuration for the keys. But regular auth keys are limited to 90 days of validity, which means every 3 months someone would have to rotate them.
In a small homelab, where keeping the software up to date already is a chore, I wouldn't want to add another manual action to the todo list. A workaround I was using, was to use non-ephemeral auth keys combined with persistent volumes. This allowed me to log the workloads into Tailscale with a valid key, and as long as the state was persisted on Ceph, I wouldn't have to worry.
The problem was that my janky Ceph setup was turning out to be unbearably slow for "critical" components. Various issues with Tailscale pods starting up due to slow Ceph, or when I was abusing Ceph by restarting nodes randomly, the Tailscale containers would temporarily become unresponsive due to the underlying storage being unavailable.
I wanted to move away from Ceph dependency in the Tailscale container, so I started looking for ways to remove the manual chore part from the key rotation.
On various reddit posts and github issues Tailscale employees were referring people to the OAuth clients. The client secrets don't expire and can be used to generate device auth keys on-demand.
Initially I was thinking of creating a cronjob to update the Tailscale kubernetes Secret every hour or so. Or perhaps an easier version to setup init-container to do the auth key provisioning.
But then I saw a small mention (on reddit) to a "well hidden" documentation page - registering new nodes using OAuth credentials. Turns out, the OAuth secrets can be used directly as device auth-keys. Meaning, the Tailscale app automatically provisions the auth keys without any extra effort on our side.
Creating the OAuth client
Unlike with auth keys, when using OAuth client to authenticate, Tailscale requires the usage of device tags. Let's make sure that we have the approprate tag created in our Tailscale ACL. I've named my tag tag:subnet-router.
{
"tagOwners": {
"tag:subnet-routes": ["autogroup:admin"]
}
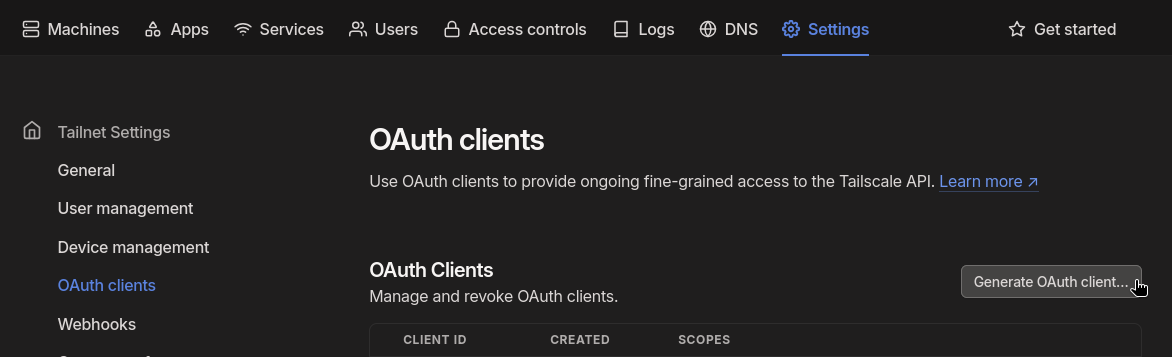
}Then, under Settings → Tailnet Settings → OAuth clients, we can create the new OAuth client.
Pick a suitable description for the client, then choose the appropriate scopes. Since we're only using the OAuth client to generate auth keys, we only need the auth_keys scope (read & write access for auth keys). Select the tag you want the device to get after it has authenticated.
Note
Tailscale updated their OAuth client scopes to be more granular on 14/10/2024. Before that, it used to be the
devicesscope that was needed for this.


Configuring the Tailscale docker container
If you're using the Tailscale docker container, you need to pass in the OAuth client secret using the TS_AUTHKEY environment variable.
There's no dedicated environment variable for advertise tags, but the TS_EXTRA_ARGS can be used for that, by passing in the full command line flag, as such --advertise-tags=tag:subnet-router.
Example of a kubernetes Deployment
This is how I deploy my subnet-router Tailscale containers on kubernetes. It retrieves the client secret from the tailscale-subnet-router secret.
apiVersion: apps/v1
kind: Deployment
metadata:
  name: subnet-router
  labels:
    app: tailscale-subnet-router
spec:
  replicas: 2
  selector:
    matchLabels:
      app: tailscale-subnet-router
  template:
    metadata:
      name: subnet-router
      labels:
        app: tailscale-subnet-router
    spec:
      containers:
        - name: tailscale
          image: ghcr.io/tailscale/tailscale:latest
          env:
            - name: TS_AUTHKEY
              valueFrom:
                secretKeyRef:
                  name: tailscale-subnet-router
                  key: authKey
            - name: TS_KUBE_SECRET
              value: ""
            - name: TS_USERSPACE
              value: "true"
            - name: TS_ROUTES
              value: 192.168.1.0/24
            - name: TS_EXTRA_ARGS
              value: >-
                --advertise-tags=tag:subnet-router
                --accept-dns=false
                --stateful-filtering=true
          resources:
            requests:
              cpu: 100m
              memory: 50Mi
          securityContext:
            runAsUser: 1000
            runAsGroup: 1000
      securityContext:
        fsGroup: 1000